
Introduction
2014 was a busy year, but we still managed to get another SecureCI™ released. All tools included in this SecureCI™ release, were updated, bringing the bundle up to date, and making many tools more user and out-of-the-box friendly.
For those unaware, SecureCI™ is an integrated stack of tools that provides version control, wiki, project/issue management, and code analysis to enable the development of high quality, secure applications. For more information about the history of SecureCI™, read Gene Gotimer’s original SecureCI post about the rationale behind creating the integrated platform.
Updates Performed
As mentioned above, multiple updates were included in releases this quarter. Below are all updates, and changes made to SecureCI™
- Updated:
- Trac to 1.0.1
- SonarQube to 4.5.1
- Subversion to 1.8.8
- Apache Ant to 1.9.4
- Apache Maven to 3.1.1
- Jenkins to 1.594
- Sonatype Nexus to 2.11.1-01
- Selenium Server to 2.44
- SecureCItm Test Automation Framework to 1.3.0
- Checkstyle to 6.1.1
- Findbugs to 3.0.0
- PMD to 5.2.2
- Cobertura to 2.0.3
- Apache HTTP Server to 2.4
- Apache Tomcat to 7.0.52
- Oracle JDK to 1.7.0_71
- Ubuntu Server Edition JeOS to 14.04 LTS
- Removed:
- Mozilla Firefox
- Google Chrome
- Selenium RC
- JavaEE
- OpenJDK
Launching SecureCI™
There are now three ways to run SecureCI™.
The first is to use a Coveros Hosted Instance. Coveros can provide suite support for hosting and managing SecureCI™ instances, including rolling updates and bug fixes into a production instance. All infrastructure and support will be owned and supported by Coveros, removing any support concerns for you. Contact us today to get started.
The second is to log into Amazon Web Services, and launch a package AMI. Links to both can be found here. Detailed instructions for installing and launching the VMI is located in the compressed folder linked. For some assistance in launching the AMI, see below.
The final is to download our SecureCI VMware machine image. More information can be found here.
2-Minute Quick Start
Below outlines steps to getting an AMI of SecureCI launched.
- Create an AWS user account by starting on the AWS Free Tier page
- Create an instance based on the latest AMI listed on our Coveros SecureCI Page
- Start it as a t1.micro instance
- Enable SSH and HTTPS in the Security Group firewall
- Connect with SSH and your PEM key as user “ubuntu”
- Step through the first-run configuration steps when prompted
- Reboot the VM instance (optional)
- Visit https://[Public DNS] with your favorite browser and start playing with SecureCI. You’ll need the SVN/Trac user name you created during the initial configuration to access any pages on this instance.
For more detailed directions on starting up SecureCI, keep reading
Detailed Startup Instructions
Create an Account for AWS
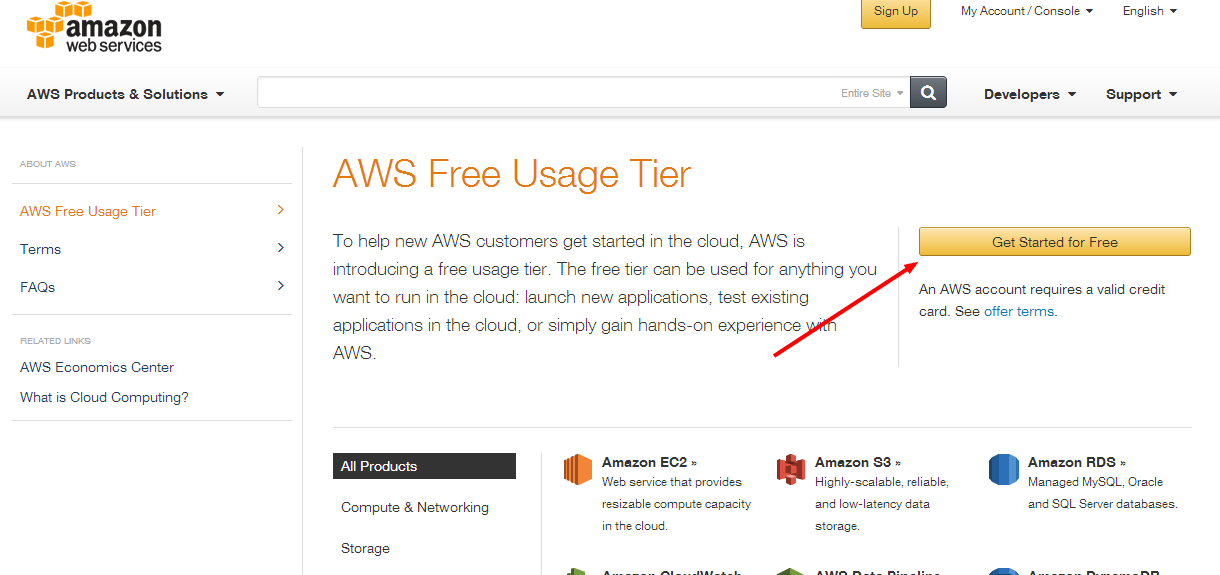
First, create an Amazon Web Services account. Start on the AWS Free Tier page and select the “Get Started For Free” button.
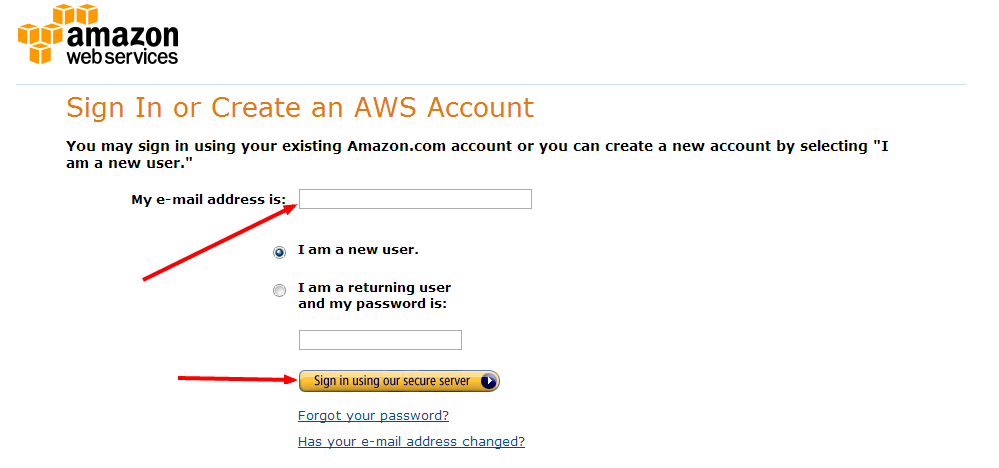
Follow the instructions to provide an email address (your login), and click Sign in.
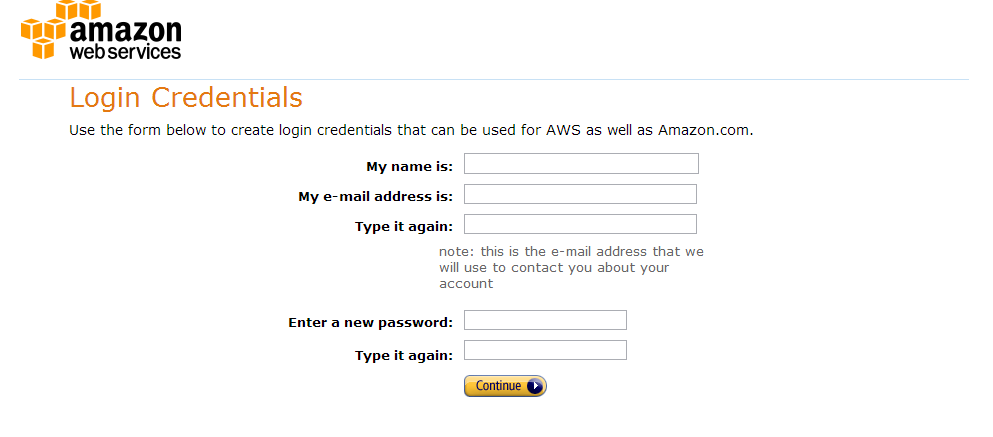
Enter in your name, and a password and click continue.
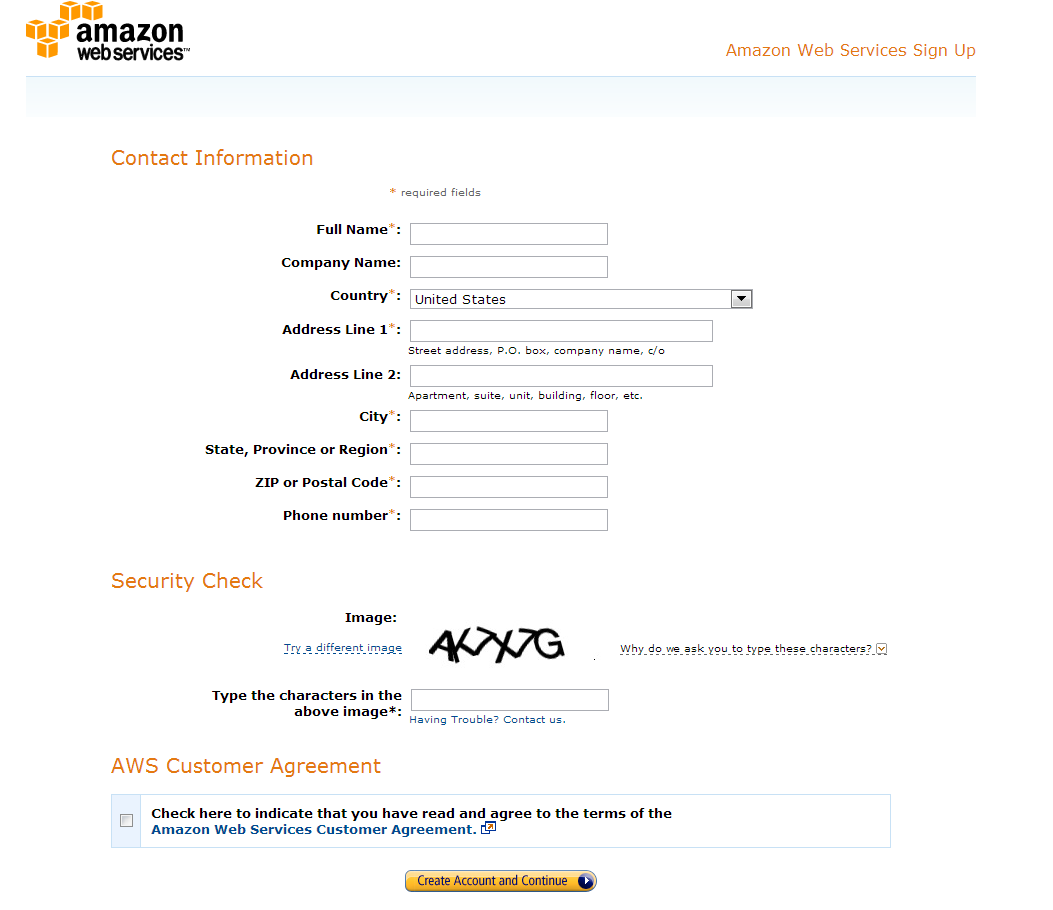
Enter in the rest of your personal information that is required, and click Create Account and Continue.
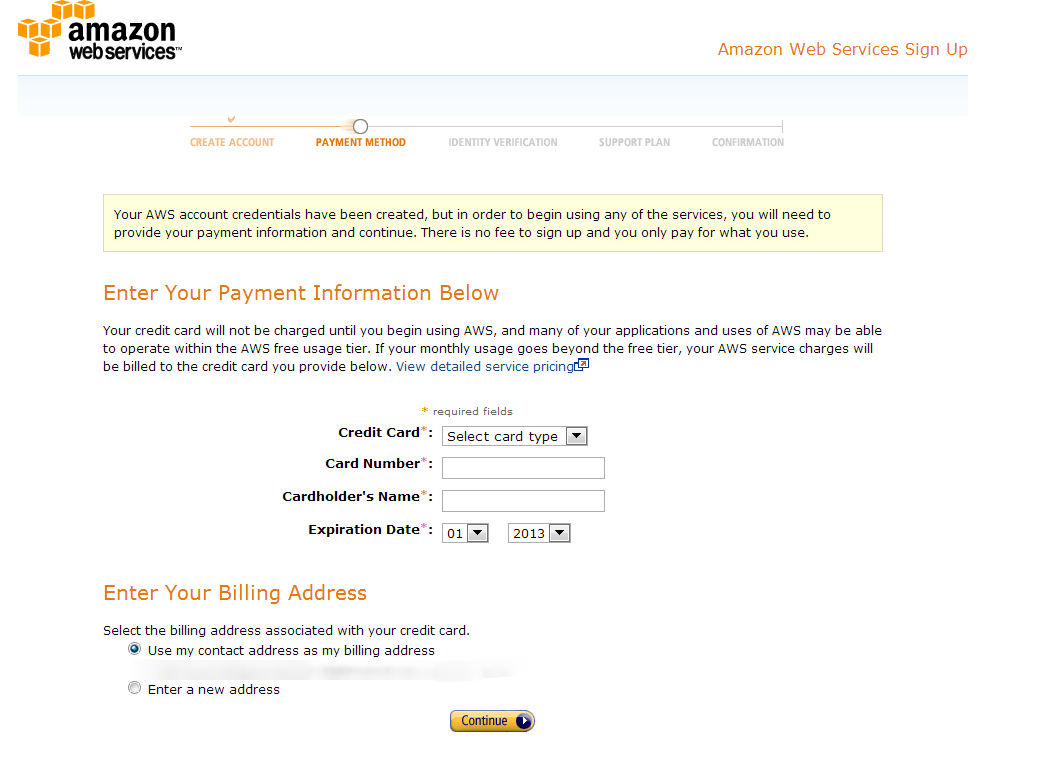
Enter in your credit card information for charges above your free allocation limits.
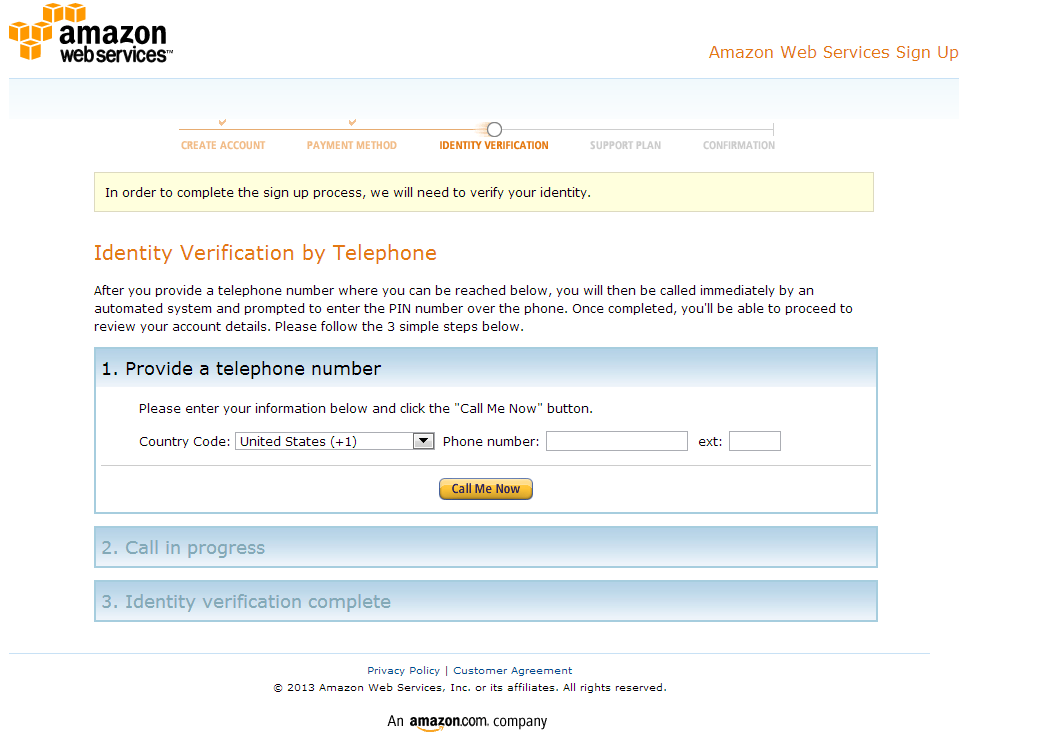
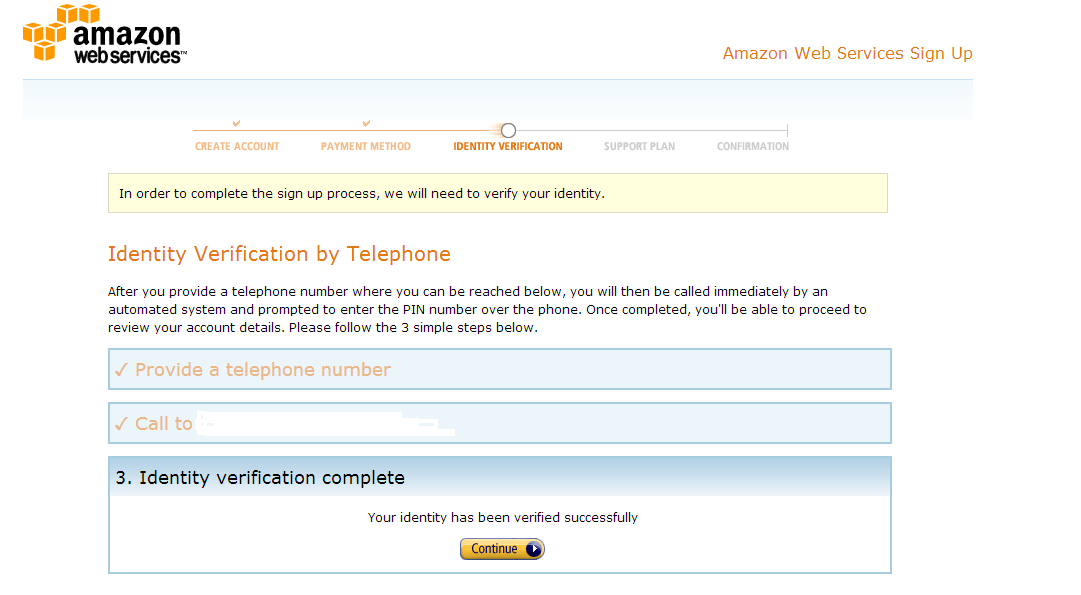
You will now need to enter in a phone phone number for a call back to verify your humanness before activating your account.
After verifying you exist, click Continue
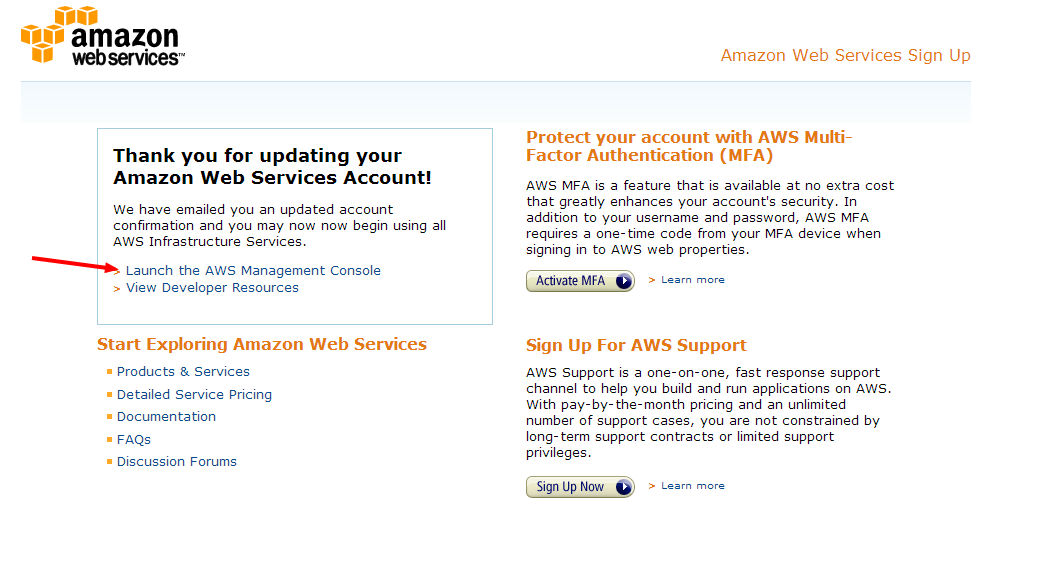
Select the Basic (Free) plan, and click Continue

Finally, click on the Launch the AWS Management Console link
Launch SecureCI™
Now we can get started. You can review the information provided by Amazon’s Console, or you can click the Sign in to the AWS Console button
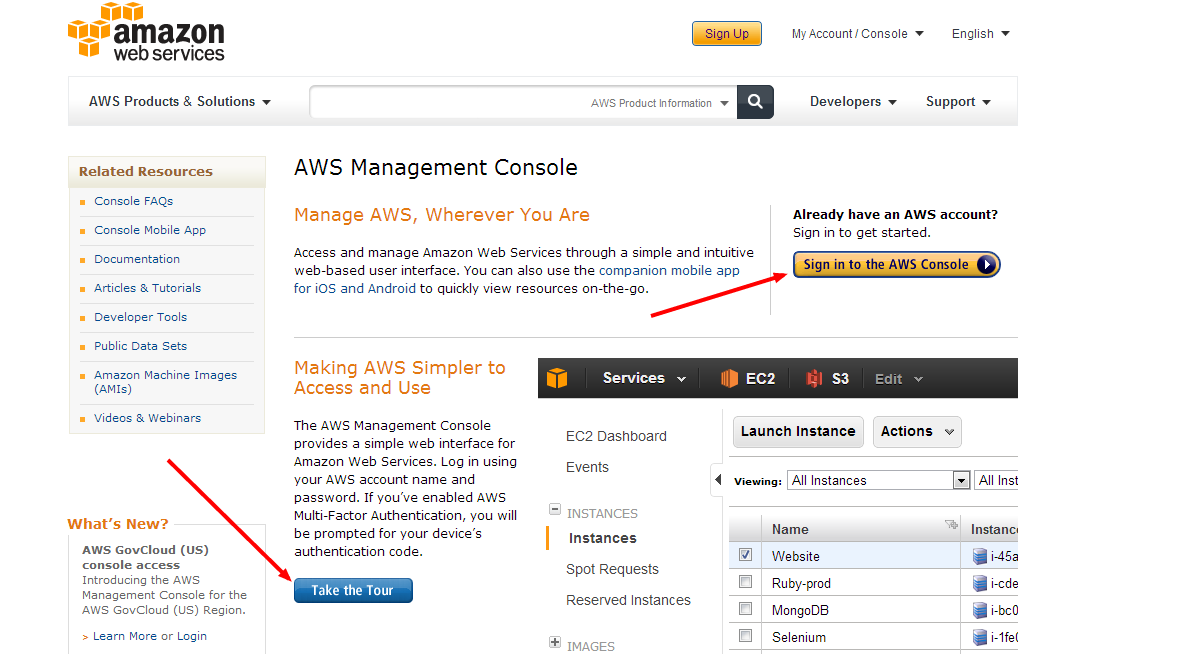
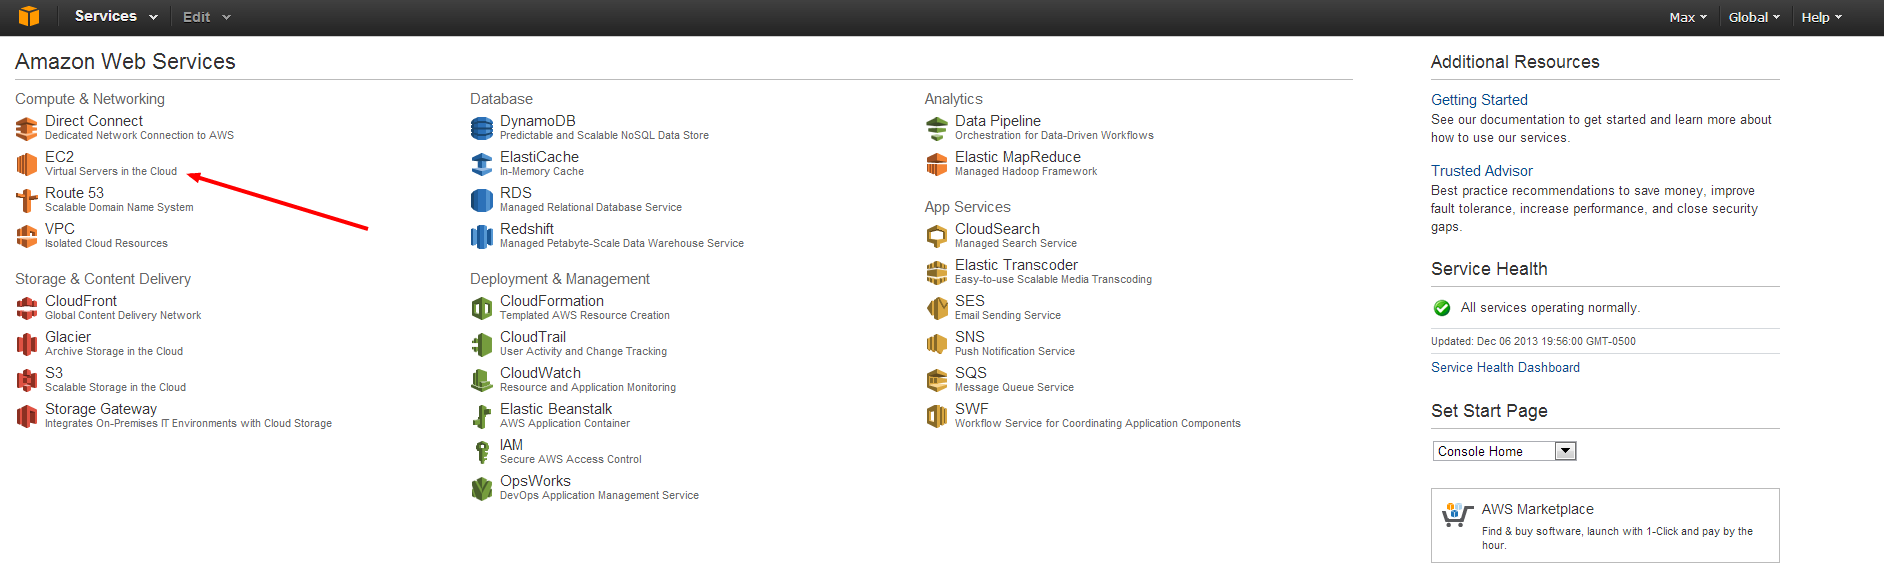
Login using the credentials you just created. Click on the EC2 link, to start managing your machines.
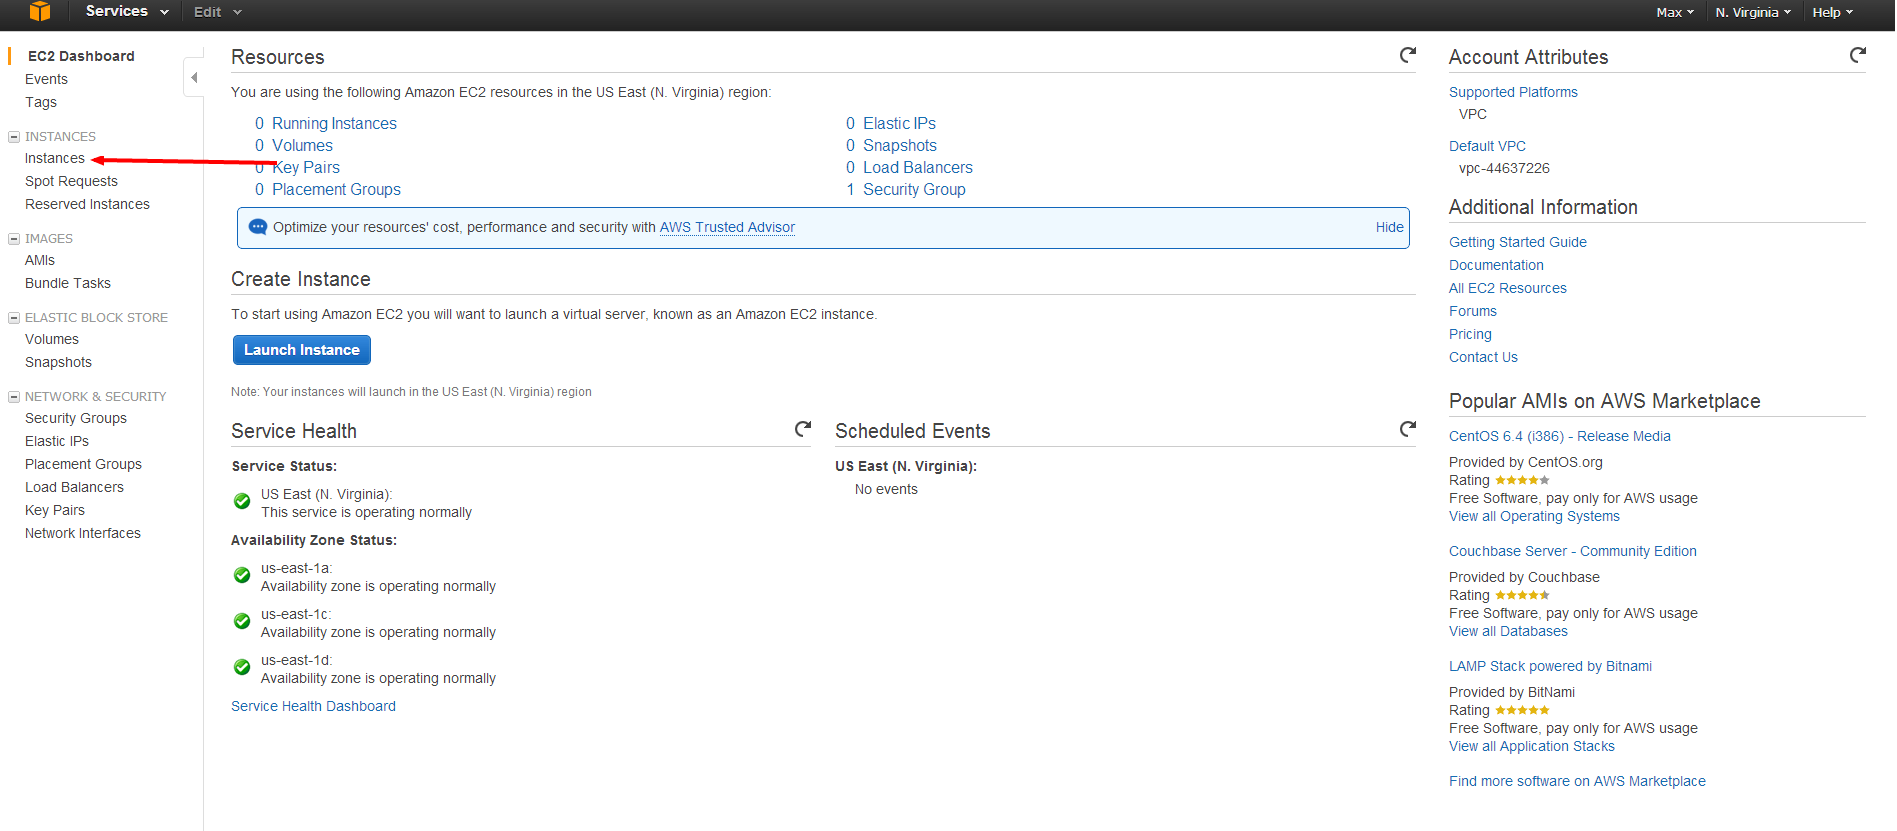
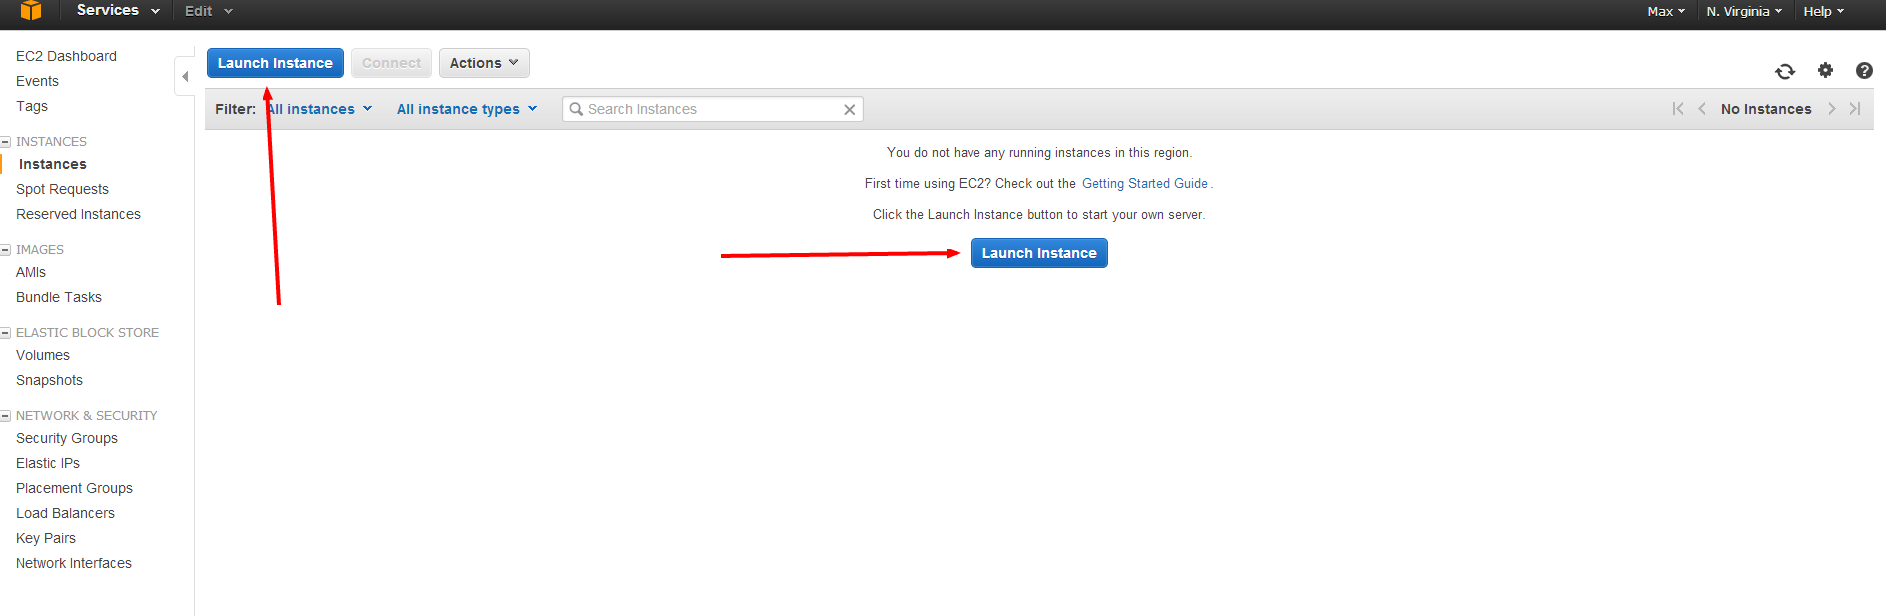
To Launch an AMI, click on the Instances link on the left panel, and then click the large blue Launch Instance button.
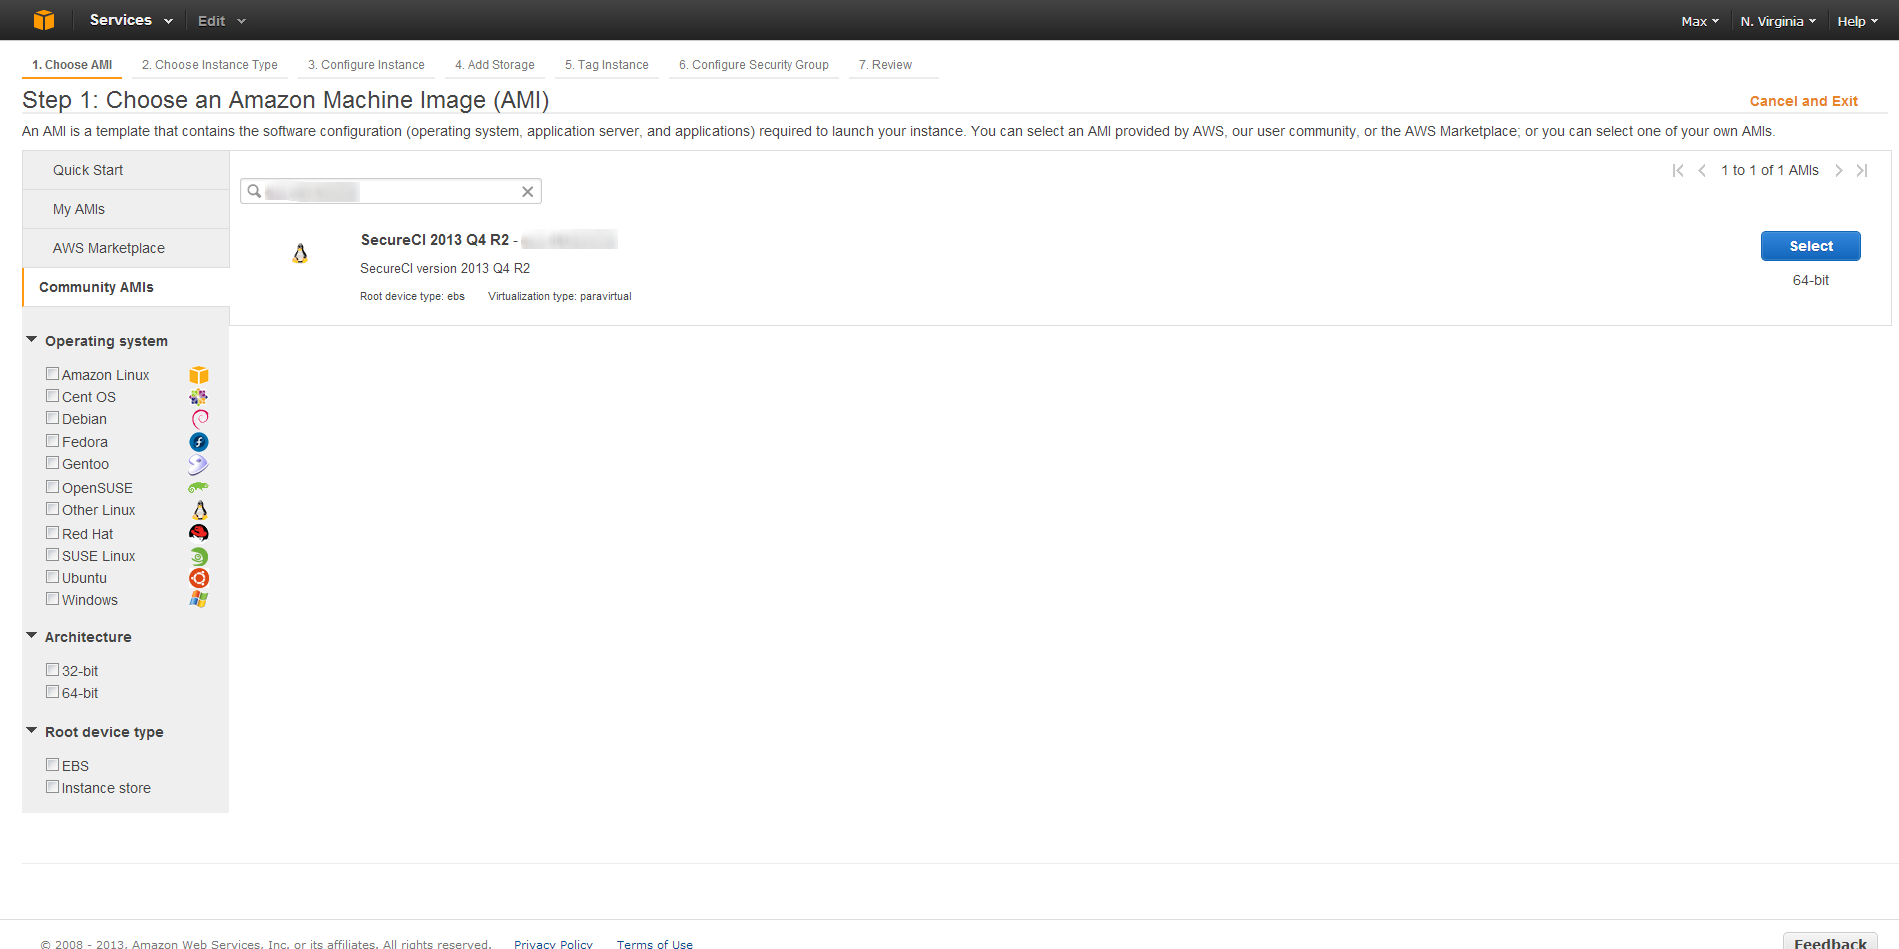
On the left side of the screen, select Community AMIs, search for the AMI listed on our Coveros SecureCI Page, and then click Select.
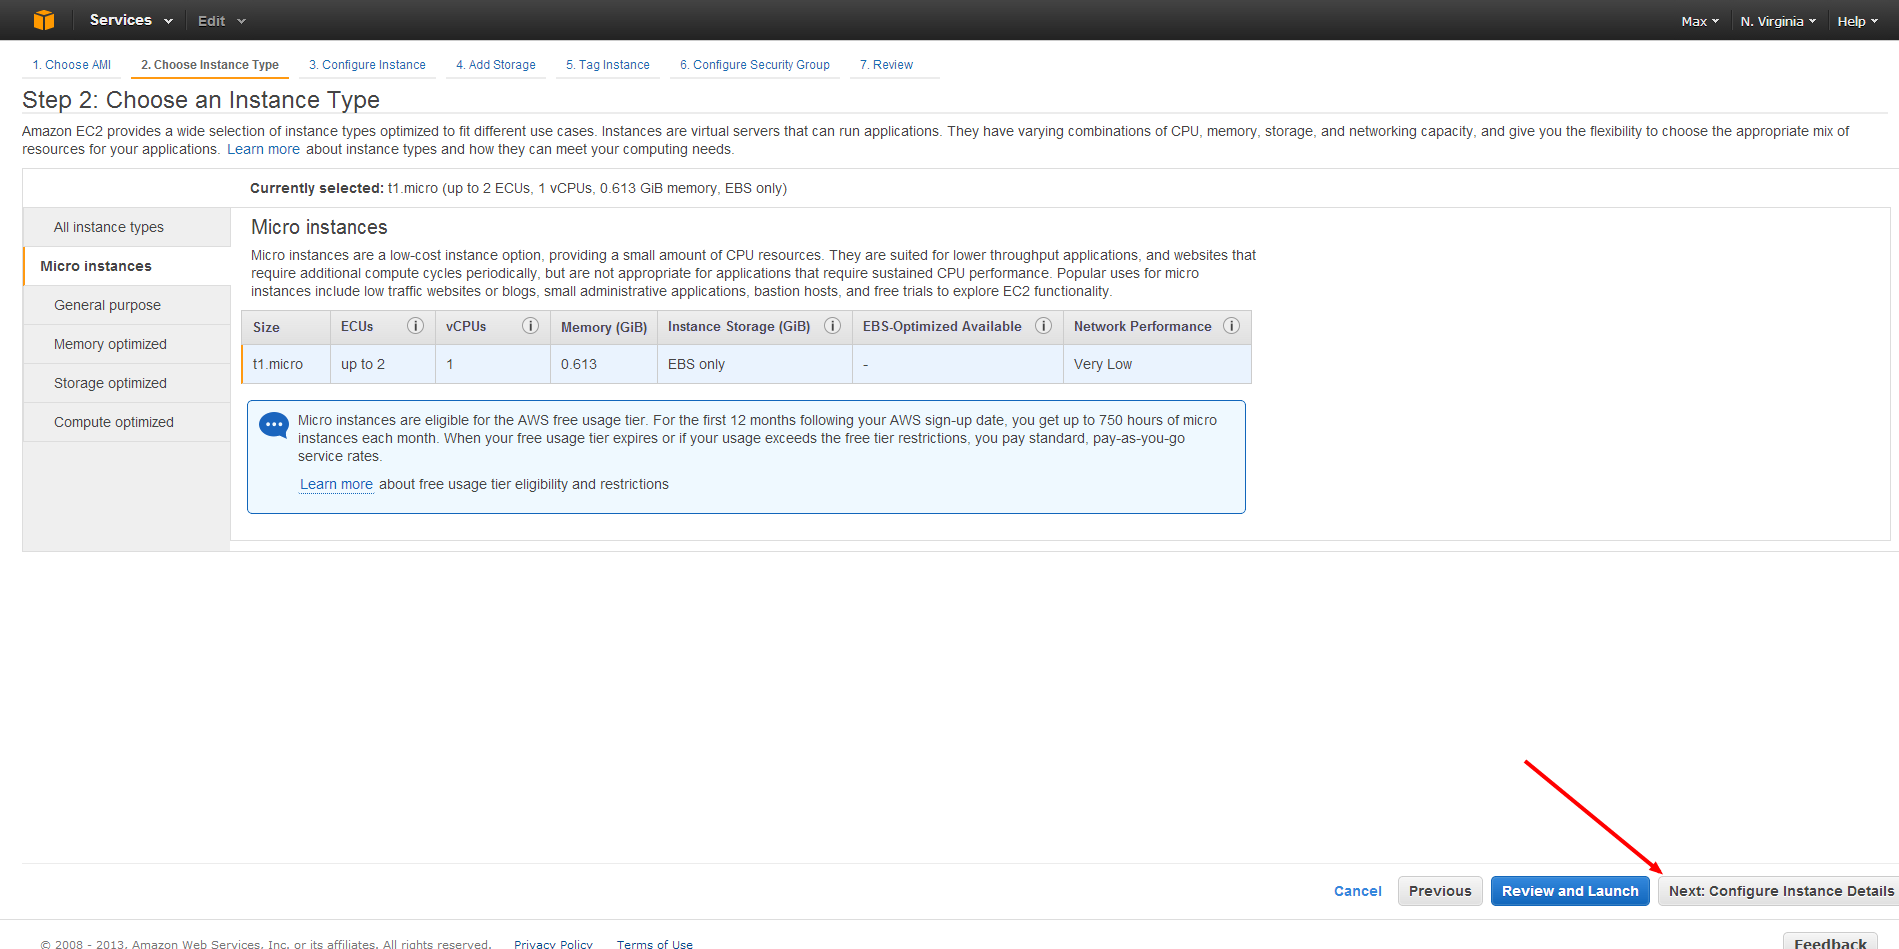
Now onto configuring our machine. The first option is for selecting the Instance Type. We created a free account, and to stick with SecureCI being free, you should choose the default Instance size of Micro. However, if you are willing to spending a few dollars, chosing a size of m1.small will increase SecureCI’s™ performance. After selecting the desired Instance Type, click Next: Configure Instance Details
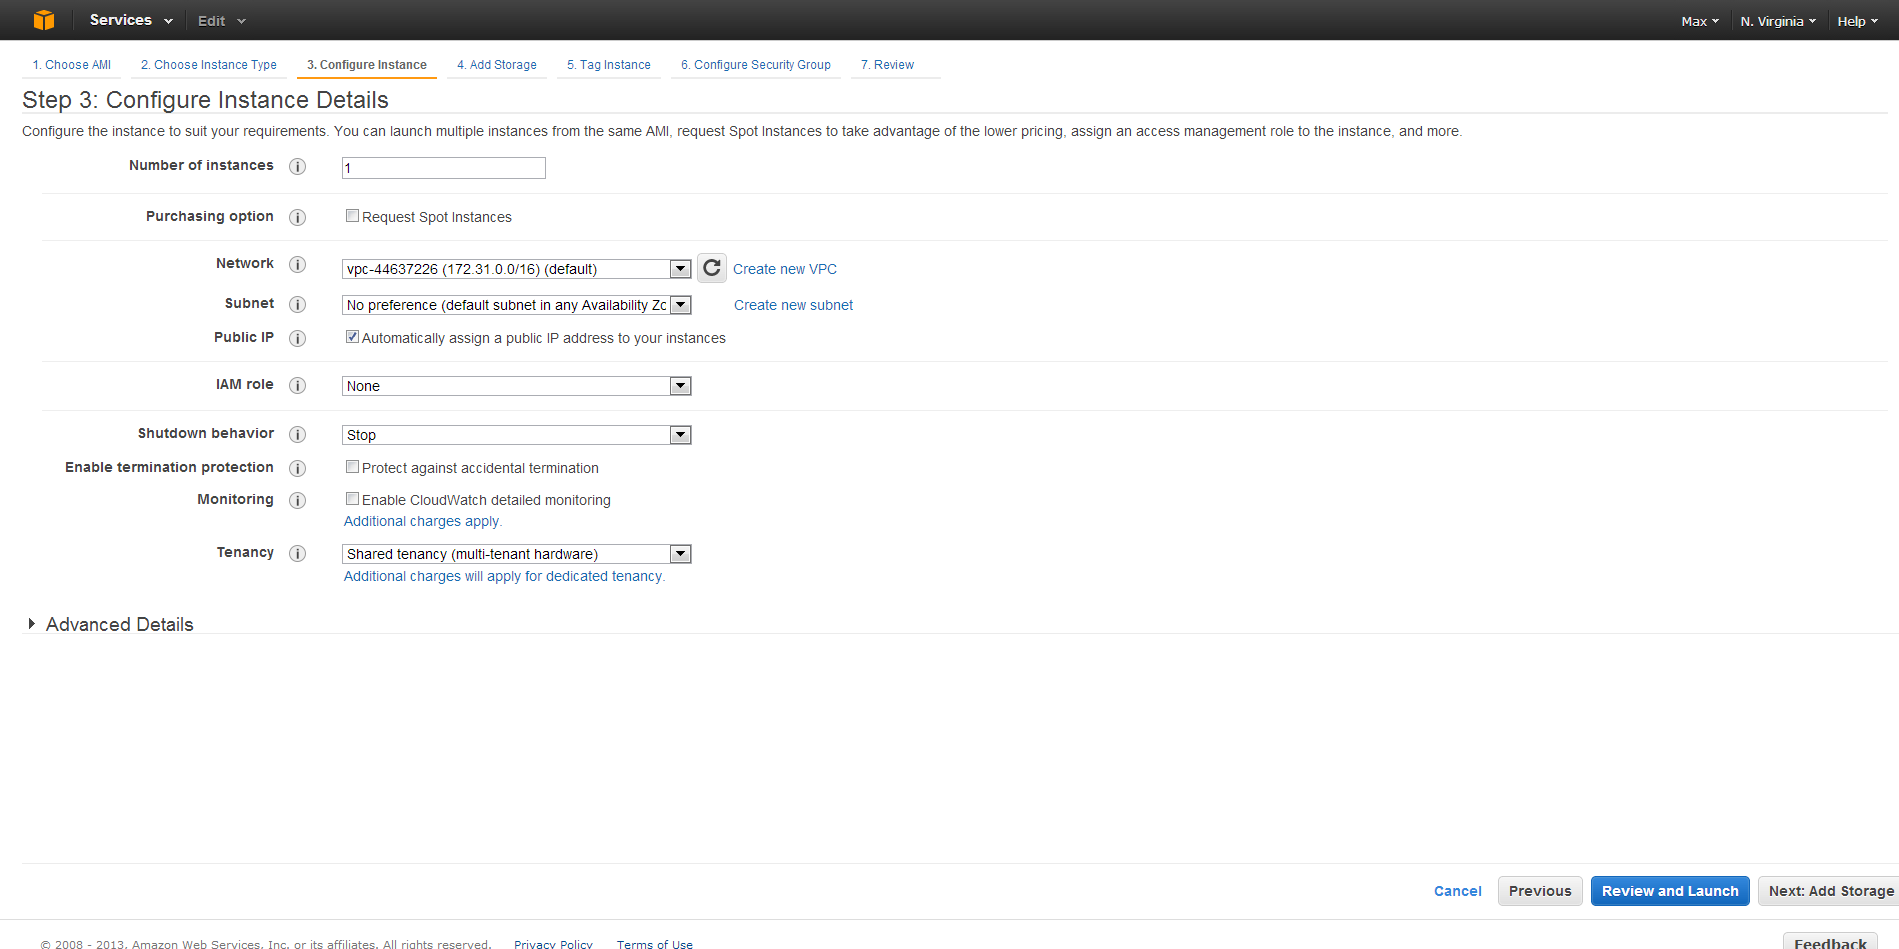
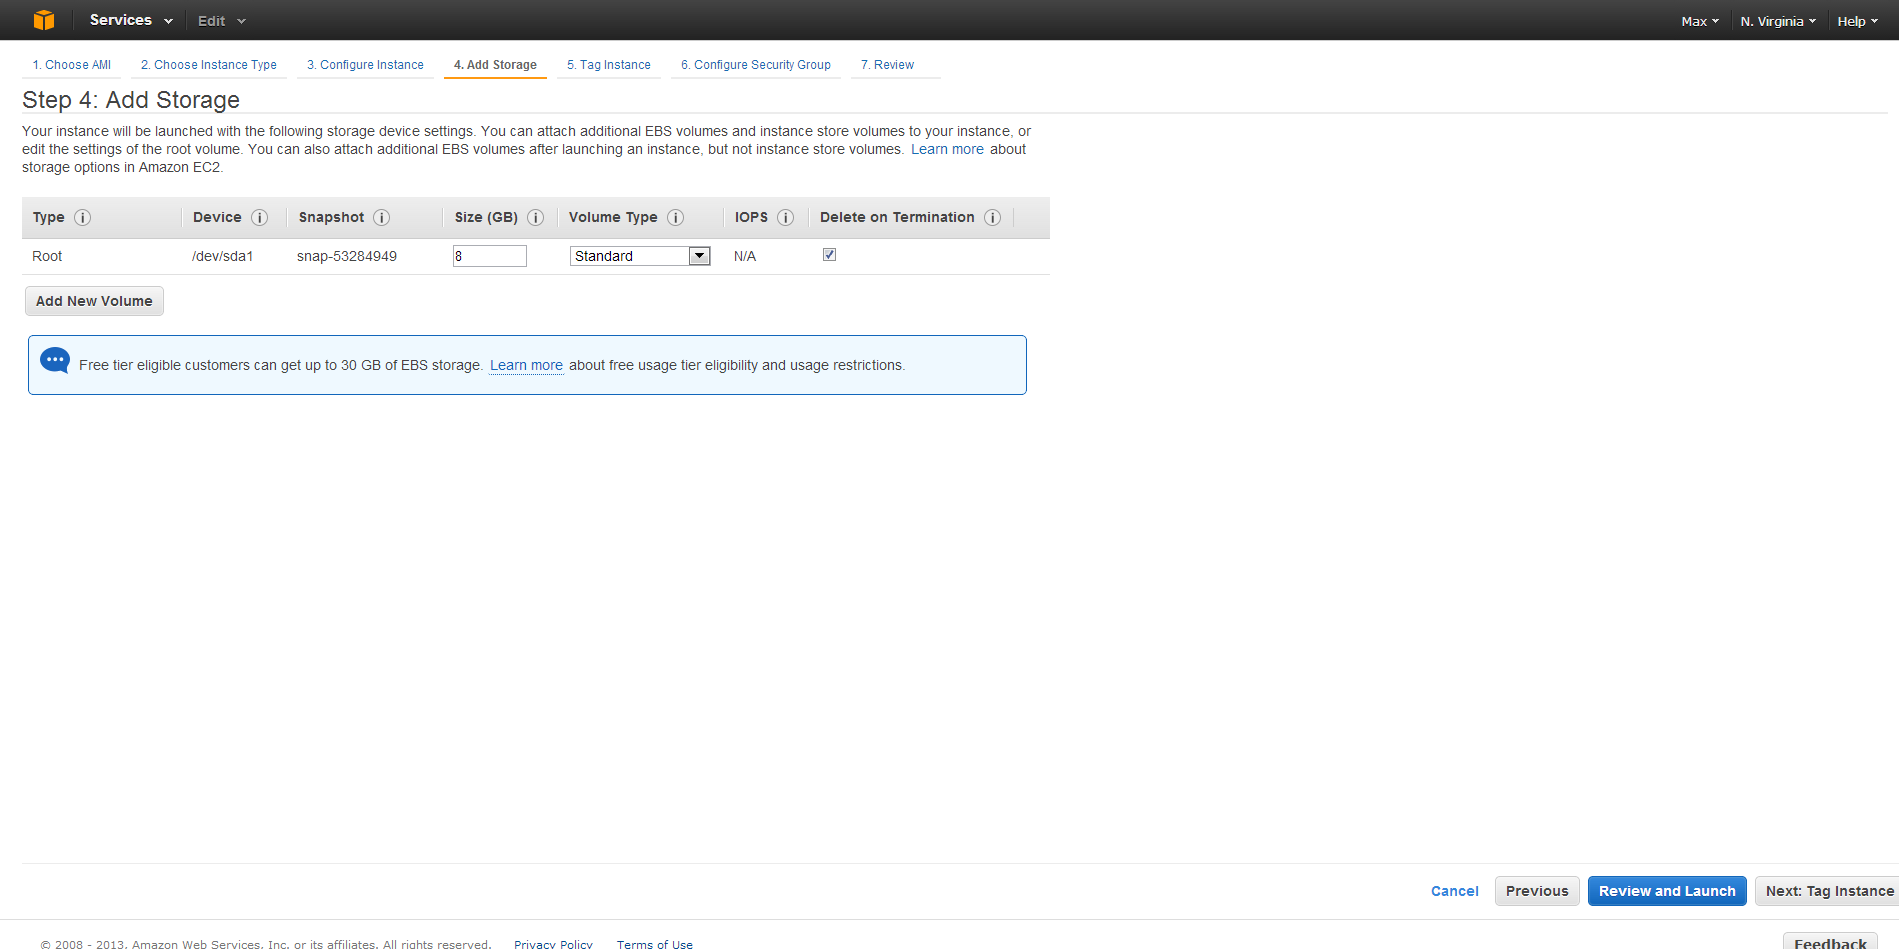
All of the defaults on Configure Instance and Add Storage are acceptable, so just click through to the next section for each.
Give the Instance you are starting up a name. Something descriptive, in case you start running a few of them (reminder – running multiple instance, even micro instances, will cost money, not be free). Once done, move onto the Security Group

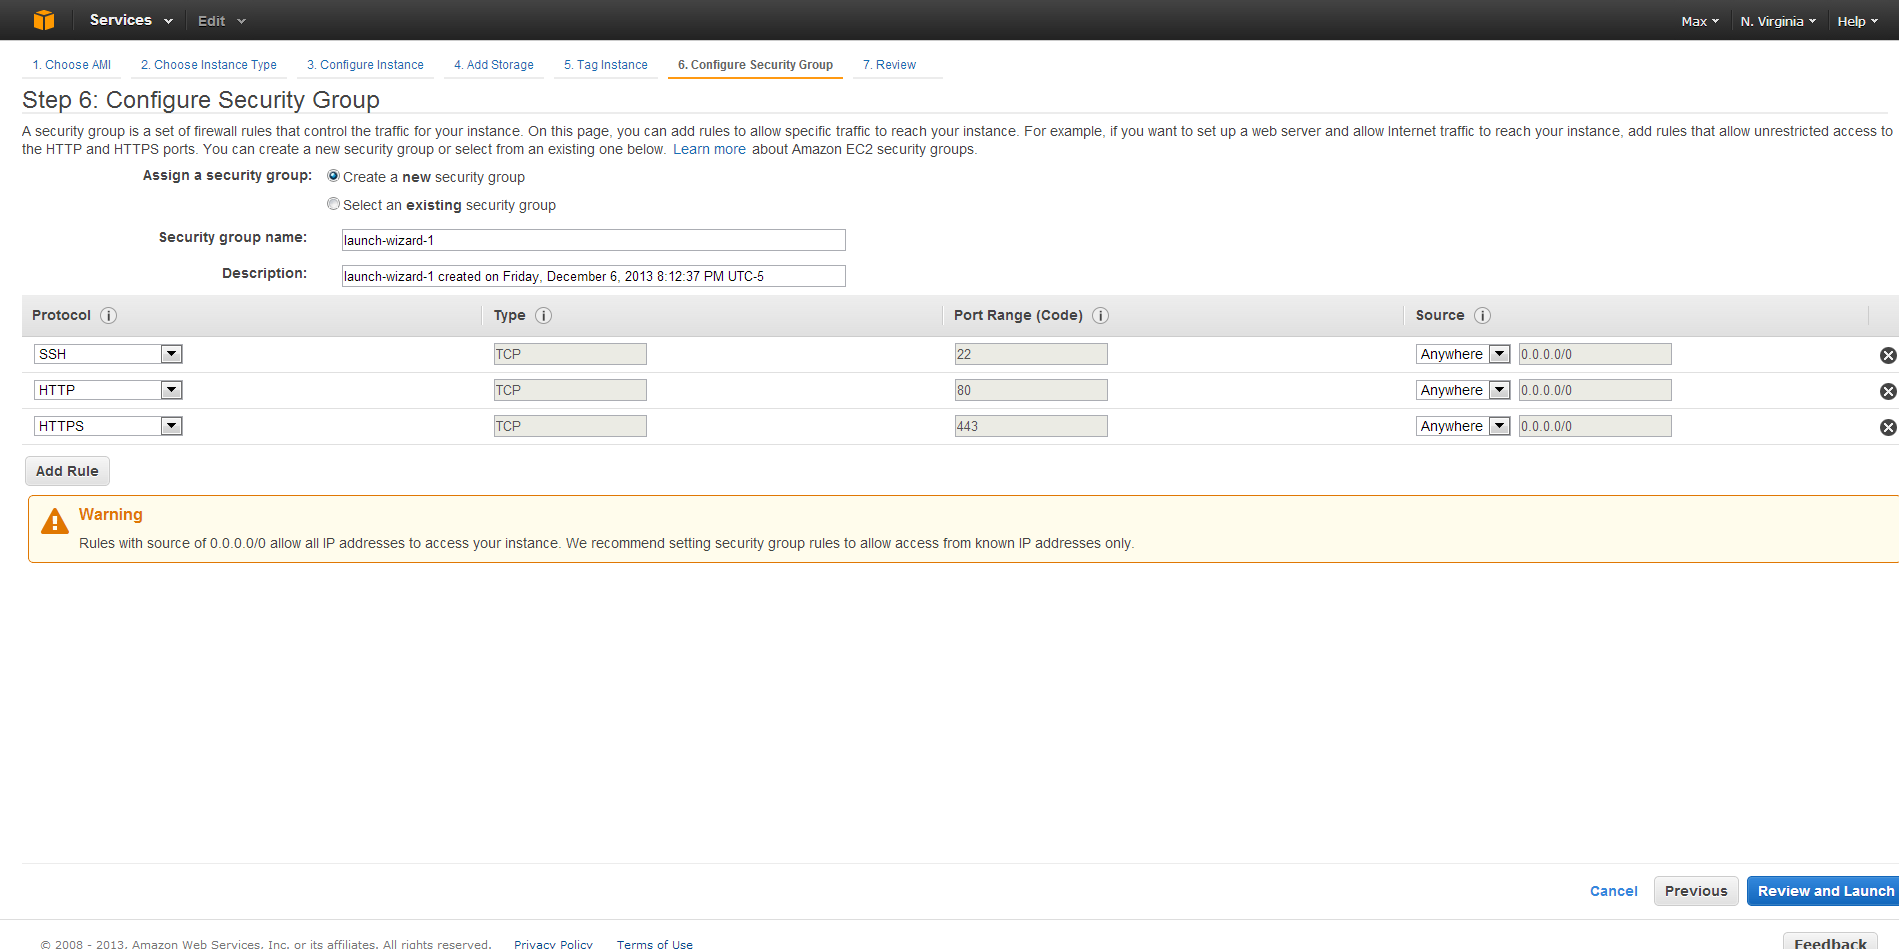
Setting up the security group is the most complicated step, which is great, because overall, it is still pretty simple. Select, Create a new security group, and then give the Security group a name and description. Once done, three protocols need to be added.
- SSH TCP over port 22
- HTTP TCP over port 80
- HTTPS TCP over port 443
For the source for each, you might want to consider locking down your instance. You can limit access to only your machine, a subset of IPs or leave the machine open to the world. If you are unsure what to do, leave the default Source; set to 0.0.0.0/0
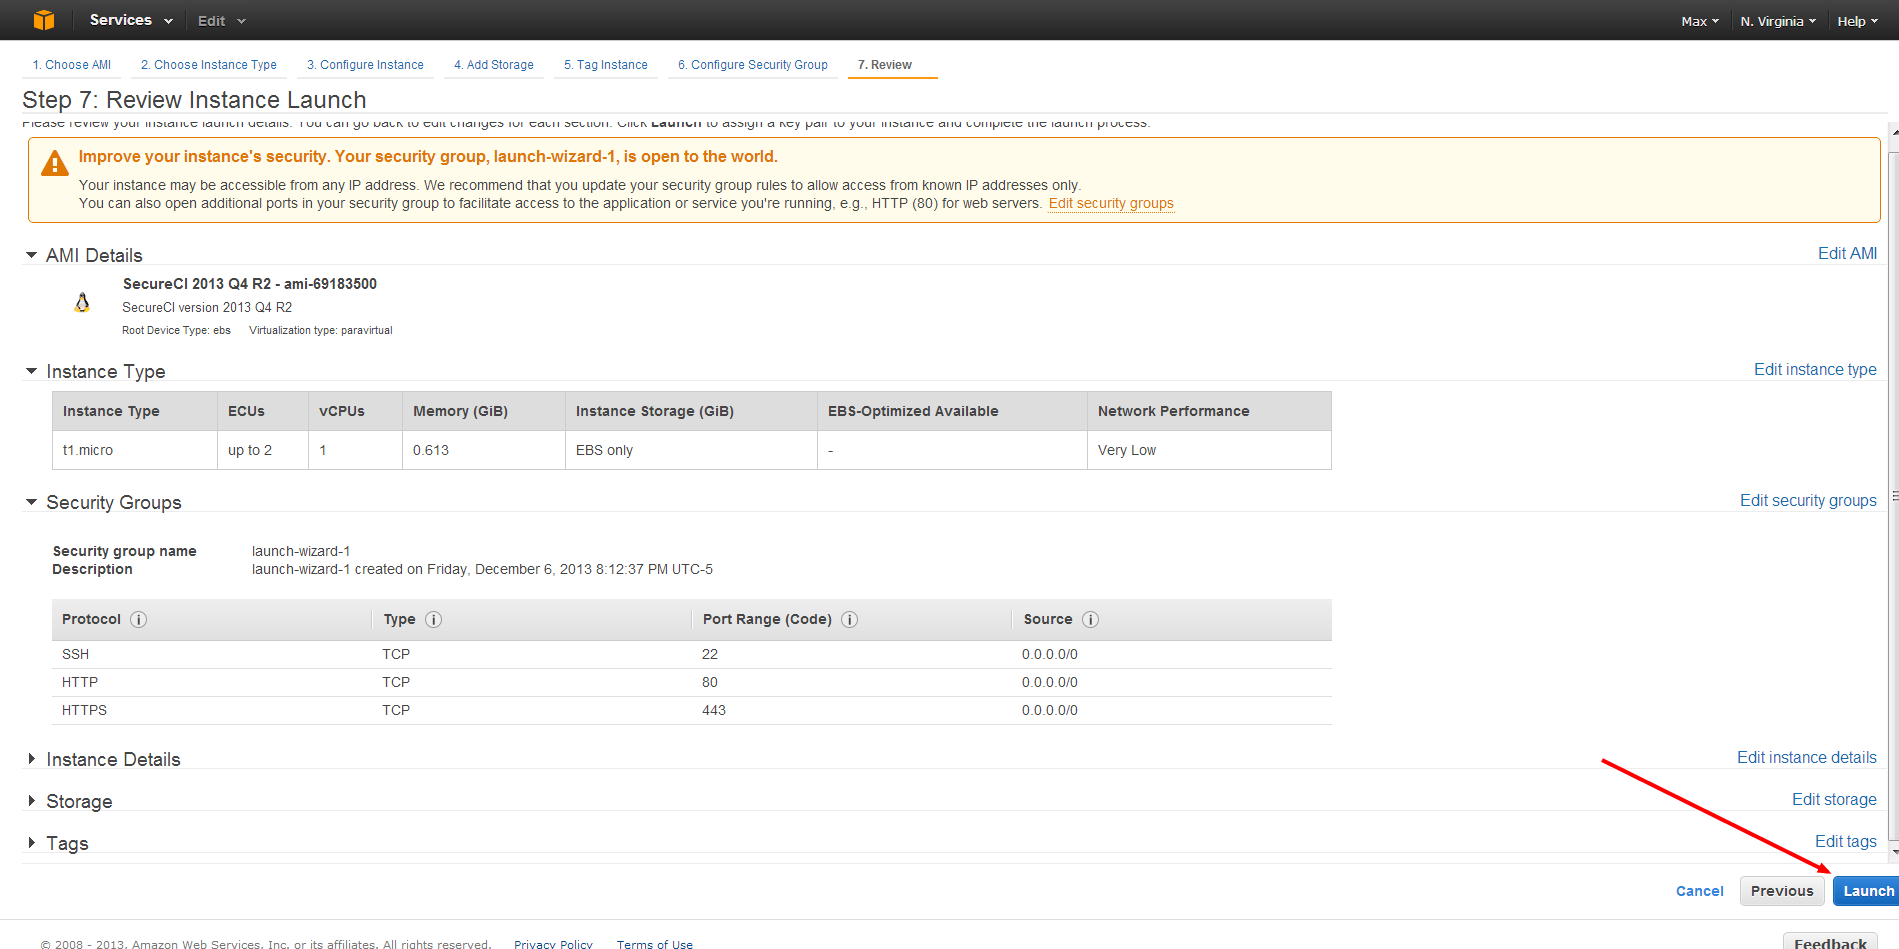
Review your settings, and click Launch
Last, and importantly, you need to create a set of security keys that you will use for connecting to and administering your machine. Without your keys, you will not be able to access your newly created VM. On the key dialogue, select Create a new key pair, and enter a short name for that new key. Click Download Key Pair, and then the Launch Instance button.
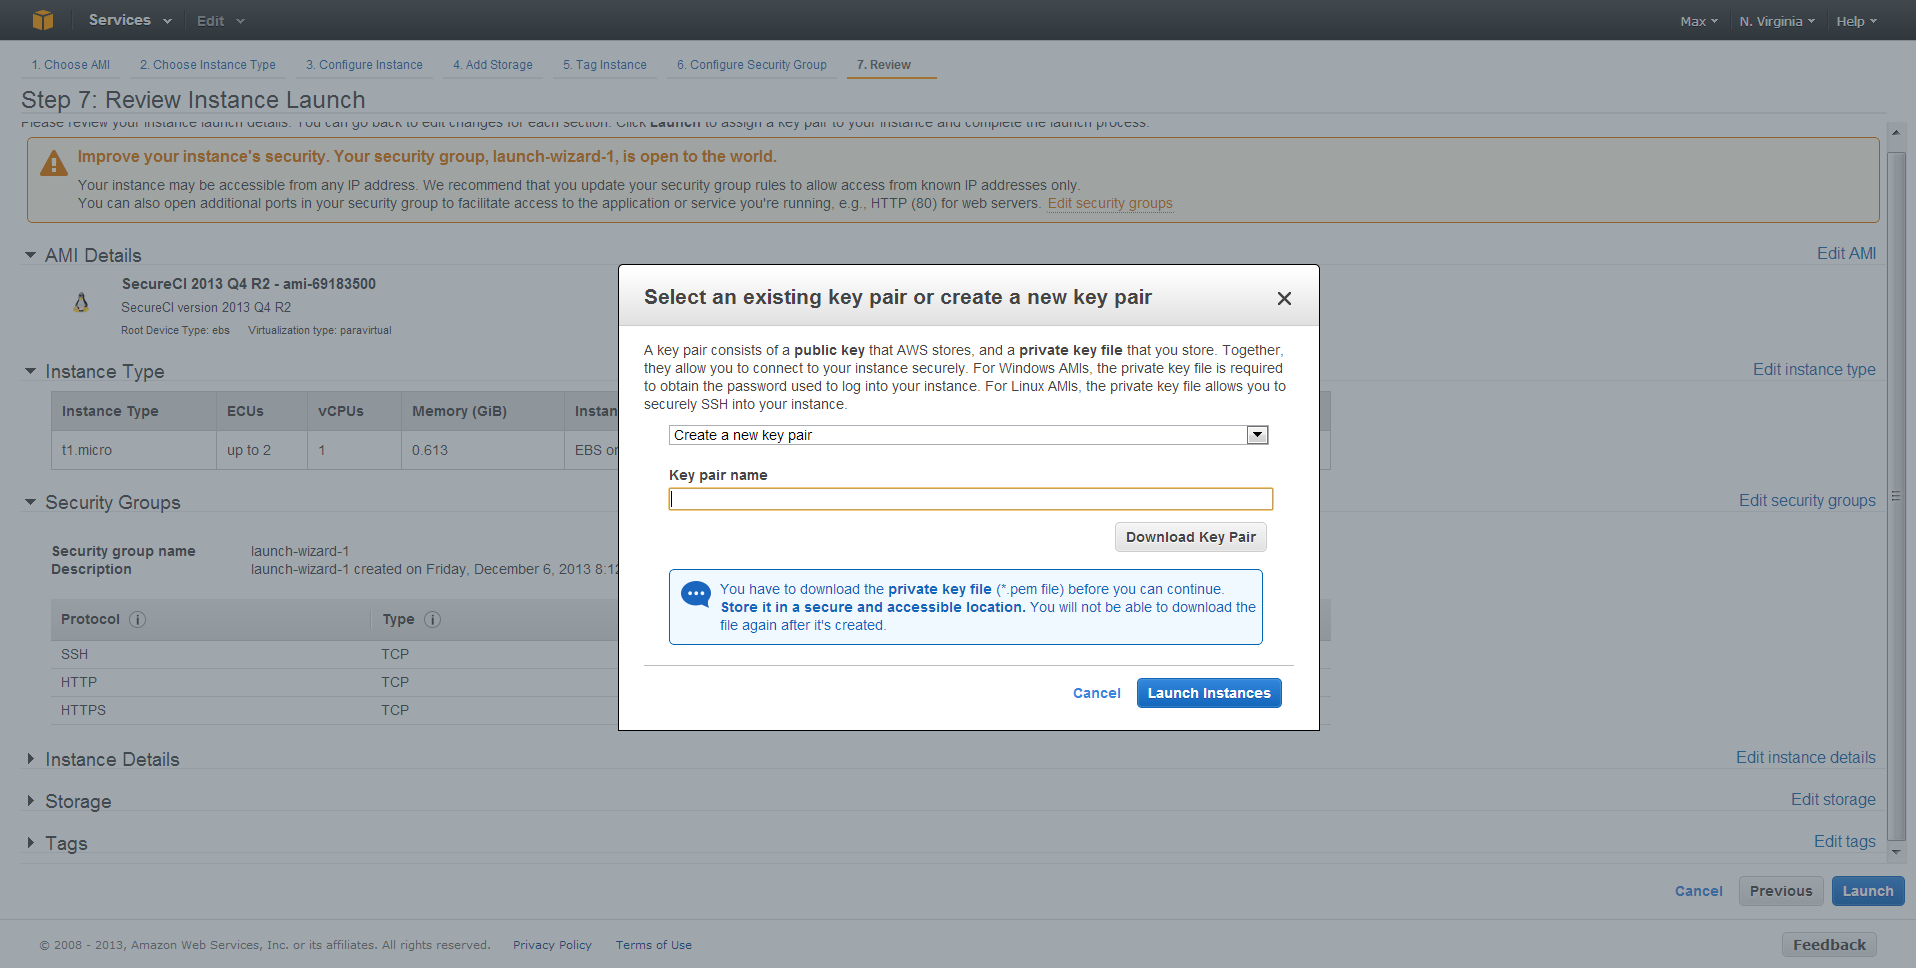
Very, VERY, VERY important: Download the pem file and store it in a safe place where you will not lose it. If you lose it, you will not be able to log into your VM any more. If someone else gets it, they will be able to have complete and open access to your VM.
That’s it, we are done launching our machine, and can get ready to use it. Before we get into connecting to the machine, let’s grab the address of the machine. As we watch our machine boot, the “State” will go through a status of “pending” or “booting” until it reaches a state of “running.” At that point, you are ready to connect to your image. Click anywhere on the line and the bottom panel will populate with information about your instance. You are looking for the “Public DNS” name that you will use for connecting to your new VM.
NOTE: This DNS name will change (almost) every time you reboot your machine. For information on setting up a fixed (non-changing) IP address, Google around and read about using an “Elastic IP” address that you can bind to your instance. Elastic IP’s are free except when you are NOT using them.
Connecting to Your Instance
The next step is to connect to the SecureCI unix host with SSH with your PEM key pair. I’m going to walk through using PuTTY to do this from a Windows box. If you have another SSH client, that should work in a similar manner to my PuTTY instructions. If you are using SSH from another Unix client, I’m making the assumption that you are savvy enough to figure out how to use the PEM private key. The only clue you should need is to use “ubuntu” as your user name when you connect.
Learning to use PuTTY is slightly out of scope for this post, but I’ll include the short steps here. Refer to the PuTTY site for more detailed information (PuTTY Html Docs). If you don’t understand PuTTY, SSH, and at least a working knowledge of Unix, you’re eventually going to run into some difficulties managing your SecureCI unix host, but you can at least get started before you needs some assistance from your resident geek friend(s).
- Download and install PuTTY from here
- Run “PuttyGen.exe” to generate a PuTTY-compatible private key. Use the Conversions > Import key menu entry to open the PEM file you download and saved in a safe, easy-to-remember place earlier. Change the “Key comment” to match your Key name (e.g., “free-secureci-key”), then use “Save private key” to save the file as a PPK file that PuTTY will use in the future. Consider adding a passphrase to your PPK file to further protect your private key file. Remember, anyone with this file will be able to connect to your server. If you add a passphrase, PuTTY will encrypt the PPK key file such that you need to enter a password each time you make use of the key.
- Run “PuTTY.exe” to connect to your server.
- Enter “Host Name” as the Public DNS name for your instance.
- Use Connection > SSH > Auth dialog to select the “Private key file for authentication” as the PPK file you saved in PuttyGen.
- Use Session > Save button (and a name in “Saved Sessions”) to save this entry for reuse later
- Use “Open” to connect to your host
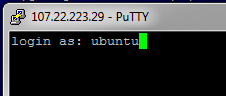
Important: when you connect to the host (with PuTTY or anything else), make sure you use the “ubuntu” user name. This is one of the easiest things to forget.
Upon connection, you will probably get a dialog box or prompt with a warning about “unknown host key.” This happens the first time you connect to any host. Go ahead and accept the host key and allow SSH to enter it into your “known hosts” list.
At this point, you will log into your new SecureCI VM instance and begin the “firstrun” configuration process.
Configuring Your New SecureCI™ Instance
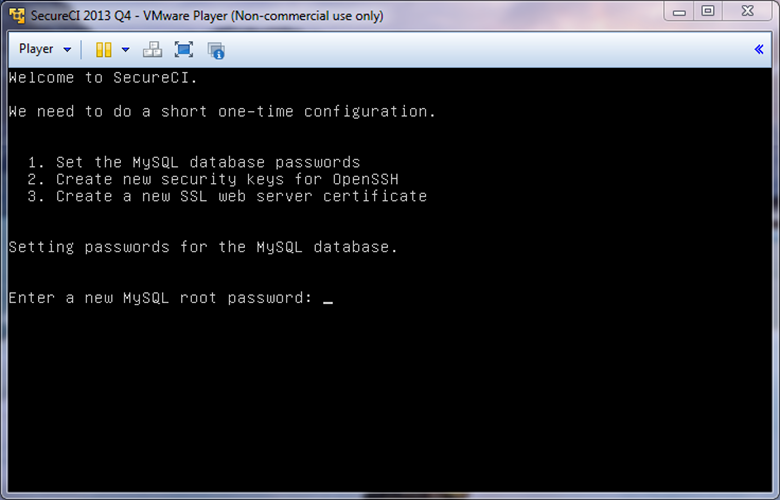
Upon connecting to your new instance as user “ubuntu”, the “firstrun.sh” script will run from your home directory. The script is responsible for configuring various server components of SecureCI including MySql, Trac, Subversion, and creating an additional unix user account. When it complete’s successfully, the firstrun.sh script will be removed from your home directory. If, for some reason, you need to run it again in the future, you can run it from /etc/init.d/firstrun.sh.
At the end of the boot sequence, you’ll need to answer some questions for a one-time configuration. Follow the prompts to:
- Enter a root password for the MySQL database
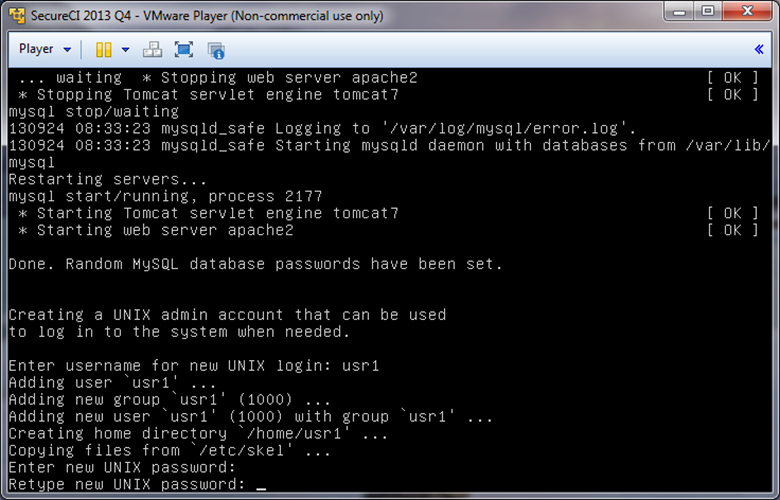
- Create a UNIX admin account
- Username
- Password
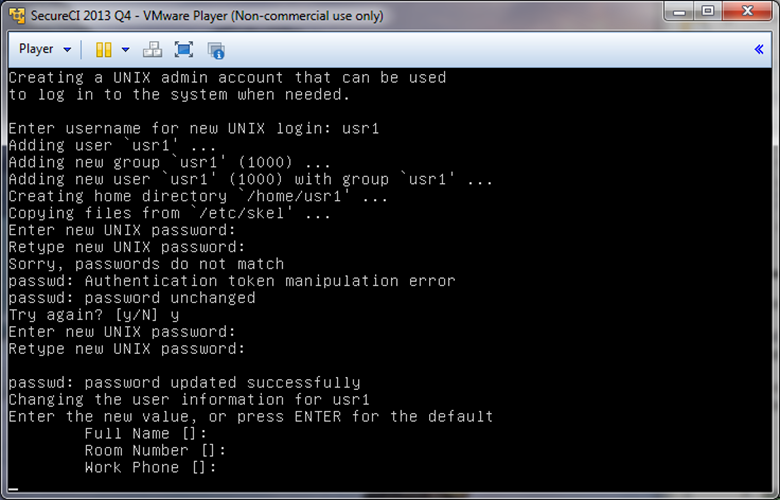
- Full Name
- Room number
- Work Phone
- Home Phone
- Other
- Confirm information correct
- Create a new user for Trac and Subversion
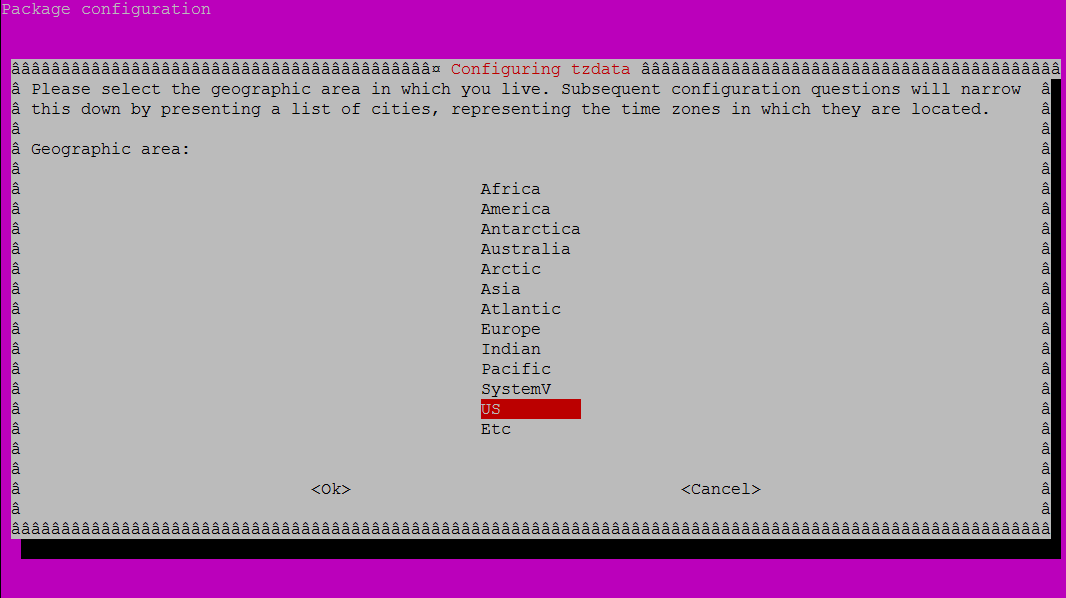
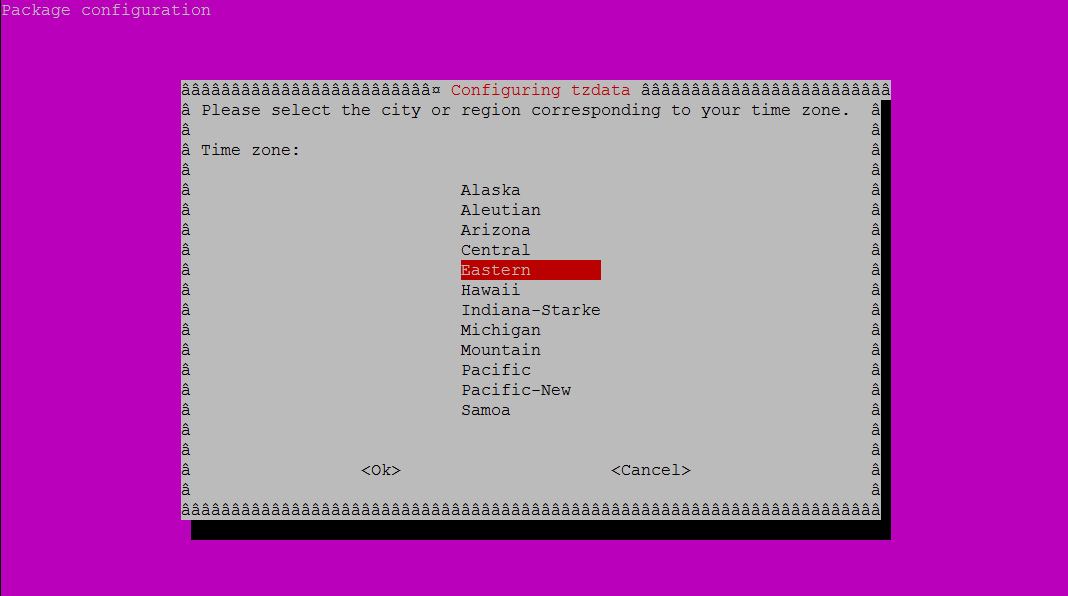
- Setup Timezone
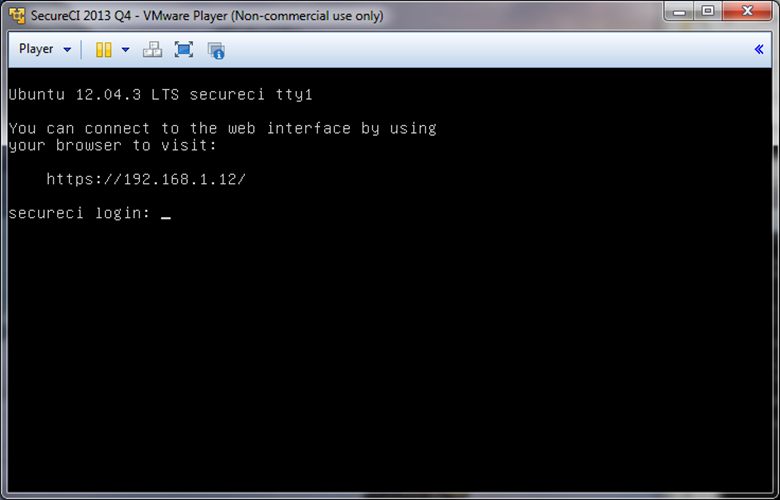
At the very end of the boot script, the URL for the web interface will be display. For security reasons, it is an HTTPS URL. You will be prompted to login to SecureCI™ using the credentials you entered previously.
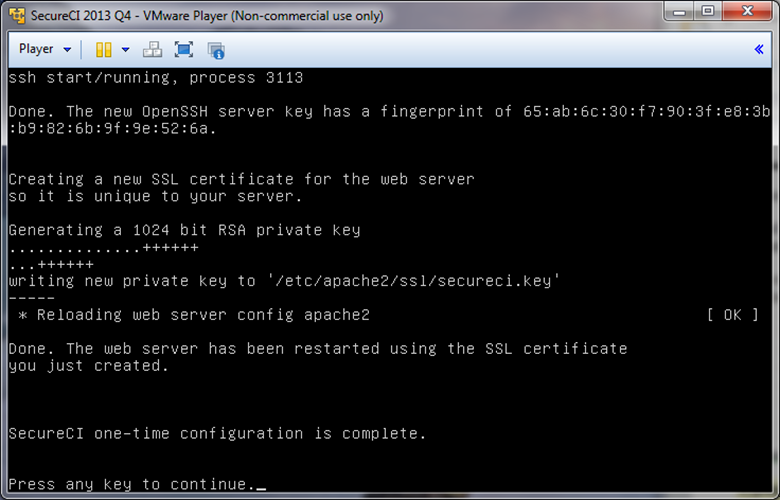
At this point SecureCI™ is running and ready for use.
Accessing SecureCI™
Open a browser and navigate to the URL for the web interface. You will need to authenticate with the Trac/SVN user you created in the configuration steps to access any sites. Additionally, please note, you will receive a certificate warning. (see below for explanation)
Certificate warning
The SSL certificate that is installed in SecureCI is self-signed for a server with the host name secureci, causing a browser warning when you visit. You can replace the certificate with one for the correct domain name/IP address and signed by a trusted certificate authority using the Apache HTTP Server instructions. (The certificate should be installed in etc/apache2/ssl/. Use the etc/apache2/sites-available/ssl file for configuration where the instructions reference httpd.conf. The server name that Apache uses is at the end of the etc/apache2/apache2.conf file.)

Expected certificate exception
Replacing the certificate or ignoring the warning and proceeding will take you to the main SecureCI™ Trac landing page.

Next steps
Change the Sonar and Nexus admin passwords
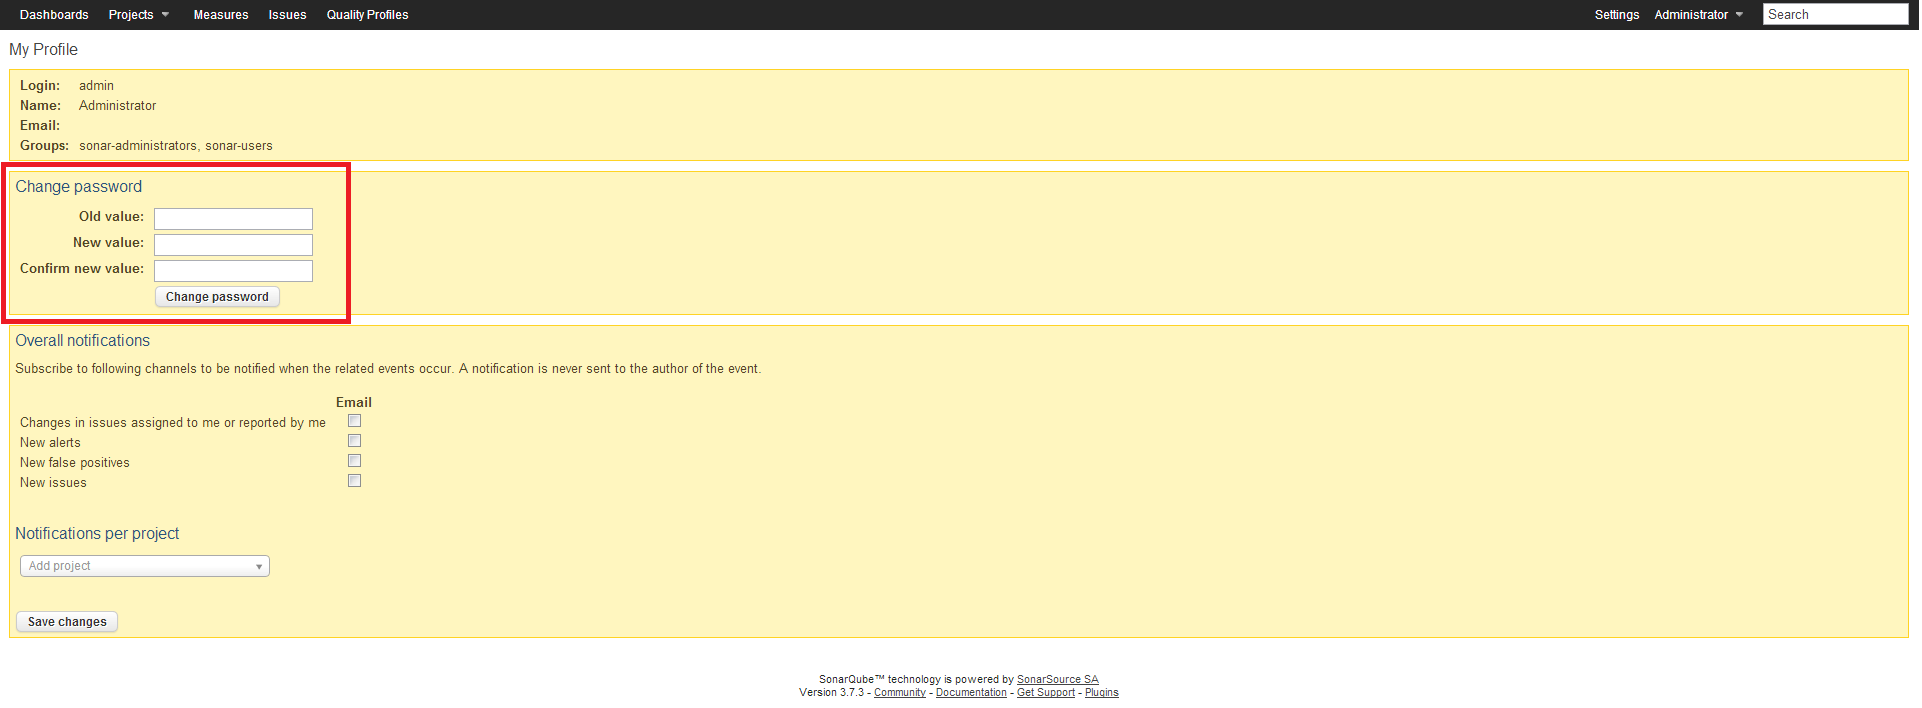
Sonar ships with a known password for the administrator account. You should immediately change this.
From SecureCI choose the Sonar button. Log in via the link in the upper-right corner, using username admin and password admin. In the upper-right, click the Administration link, then click My profile. In the resulting screen, enter the old password, and the new password, and click the Change password button.
The Sonatype Nexus repository also ships with a known password for the administrator account.
From the first page of the SecureCI wiki choose the Sonatype Nexus link. Log in using username admin and password admin123. In the left-hand column under Security, choose the Change Password link. Follow the prompts.
Apply Security Updates
Between the time SecureCI was packaged and the time you installed it, security patches for the software may have been released.
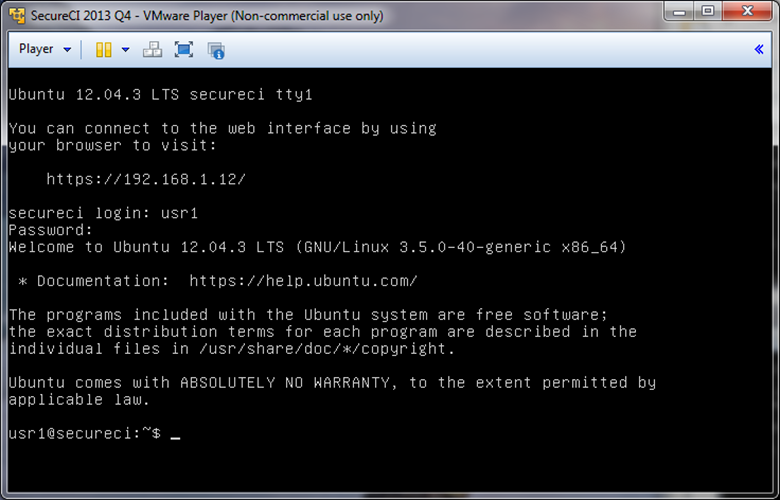
Use an SSH client to log into the SecureCI VM as the user you added, or use the VMware Player console to log in. Use aptitude to update the software on your system, rebooting if updates are applied.
More
More information about administrative tasks and the SecureCI software are available from the first page of the SecureCI wiki.

