
The end of January saw the latest release of Selenified. Several backward-compatible changes were made to facilitate contributing and ease of use for the tool. As always, the goal is to get you writing automation test cases quickly, without having to worry about maintenance or tooling problems.
Browser Support
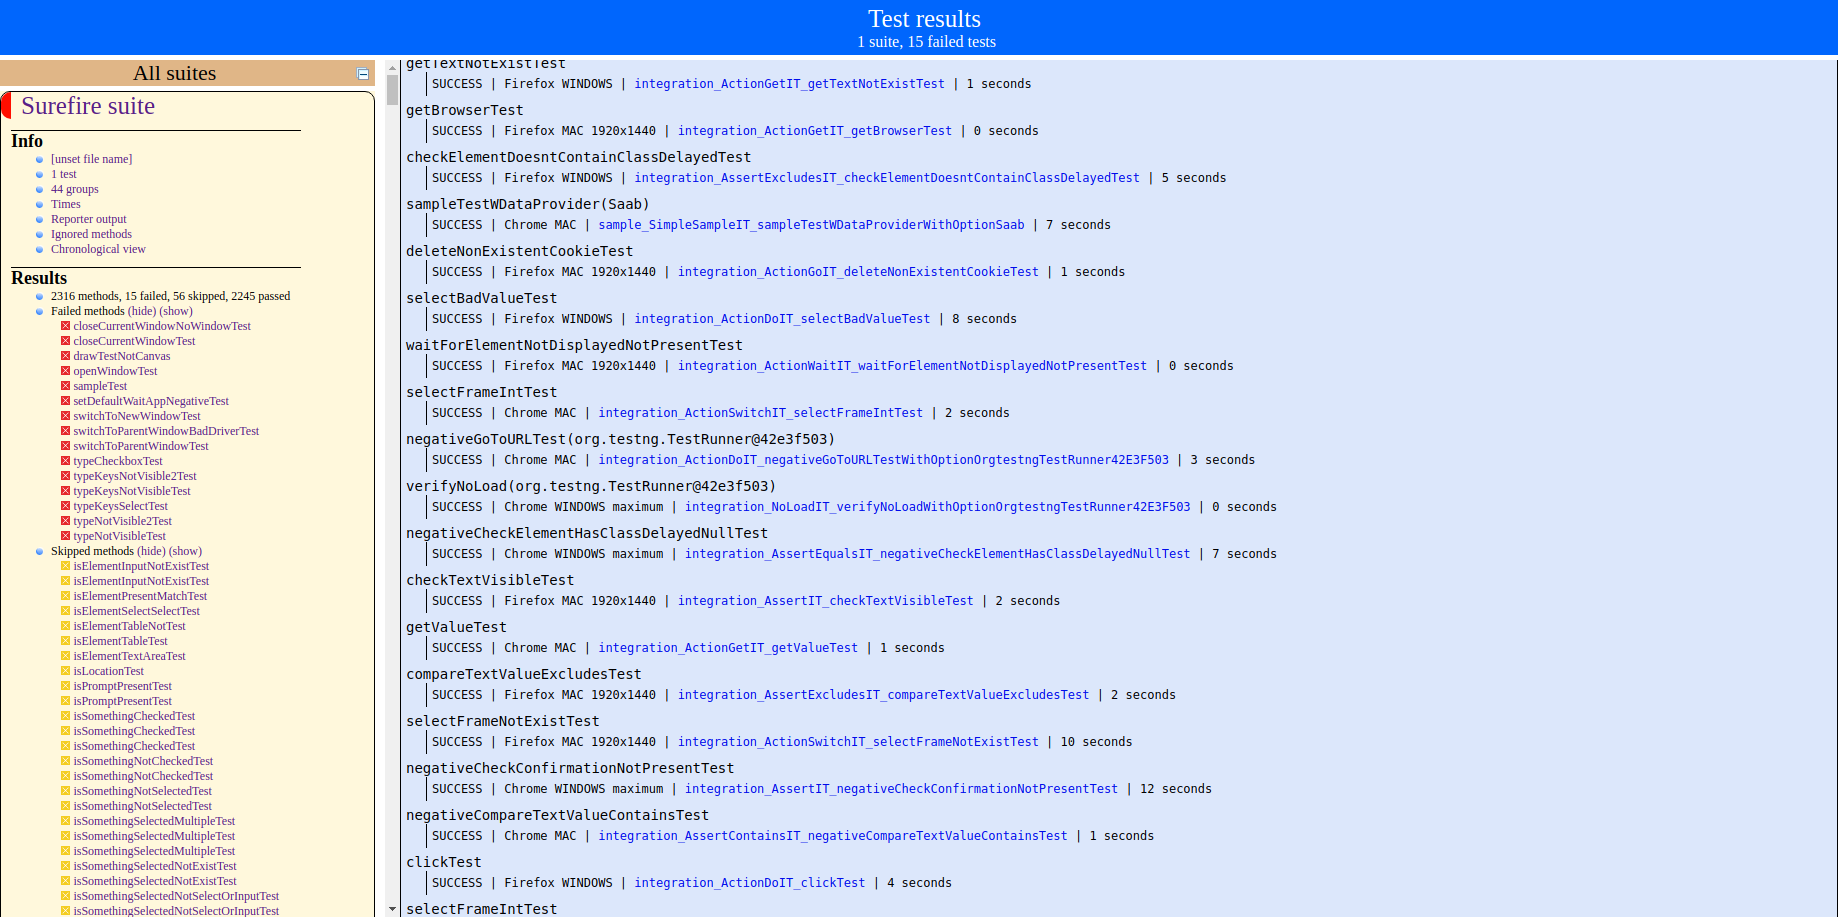
A few changes were made to support running on browsers. While Selenified always allowed you to loop through browsers, previously if you selected the exact same browser, results were getting overridden. Now, when running on the same browser multiple times, distinctly named report logs are created, to ensure all reports are persisted. Additionally, if additional browser parameters are provided, this information is displayed in the reports and logs, to make it easy to differentiate between test runs. For example, running the command mvn verify -Dbrowser="chrome,chrome,name=chrome&version=62"produces 3 sets of reports, one for each run. They’ll also be identified by chrome, chrome, chrome 62 in the reports, which greatly helps with compatibility testing.
Additionally, the ability to skip a browser on a test by test basis was added. This is useful if say, there are known issues with Safari for some features (common), and you don’t want known failed tests in the report. You can just specify, never run these tests on Safari.
// skipping safari as it doesn't support modal dialogs: https://github.com/SeleniumHQ/selenium-google-code-issue-archive/issues/3862
@Test(groups = {"sample", "pom", "alert", "no-safari"}, description = "A sample test using a data provider to perform searches")
public void sampleTest() {
    // grab our main app object
    App app = this.apps.get();
    // grab our main threadsafe object for future use
    MainPage main = this.main.get();
    // our test actions
    main.generateAlert();
    app.azzert().alertPresent();
    app.acceptAlert();
    app.azzert().alertNotPresent();
    // close out the test
    finish();
}
Documentation
In an effort to increase usability and community support, the README was updated to better instructions for execution, and a CONTRIBUTING file was created. The README was re-organized, with emphasis placed on getting started with a build tool: `maven`, `ant` or `gradle`. Additionally, specific wiki pages were created to get into the details of how to execute with maven, and gradle.
Parting Words
The hope is these changes will help simplify the setup and execution of Selenified, and make it more accessible to the testing community. As always, reach out, or post below with thoughts/comments, and don’t hesitate to open issues on GitHub.

