
Setting up a load balancer in Azure is a simple process, the tricky part is all of the prerequisites and dependencies that need to be met in order for two or more virtual machines to be load balanced. The first and most important dependency is creating an Availability Set for your virtual machines to live in. It is important to create the Availability Set FIRST, because a virtual machine can be placed into an Availability Set on creation. This means if you have already created your multiple virtual machines that you want load balanced and they are not in an Availability Set or are in different Availability Sets, you must recreate the virtual machines.
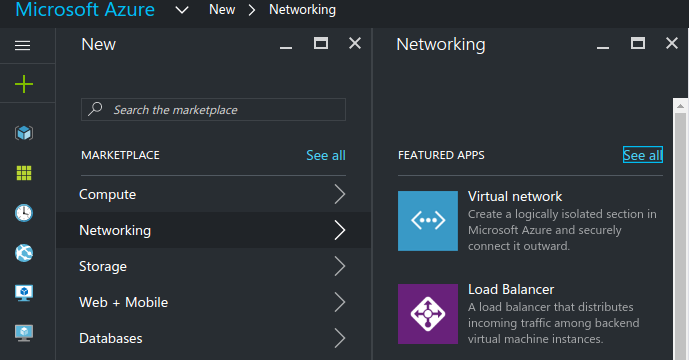
Once we have our Availability Set, we can begin with creating our load balancer. The easiest way to do this is through the Azure Portal. First you click the new resource button, then Networking, Load Balancer:
Now it is time to configure your load balancer. We need to create three things for this to work:
1.) Backend Pool – This is the pool of VM’s your load balancer will be pointing to
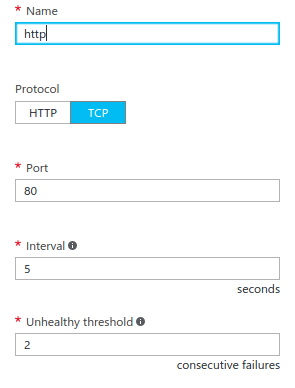
2.) Probe – These allow for load balancers to check on the health of the VM’s in the backend pool. If a probe finds a backend resource is unhealthy, the load balancer will stop sending traffic to that resource.
3.) Load Balancing Rule – This will allow us to define the routes of our load balancer.
First, we will set up a probe on port 80. We create it like this:
Next, we will set up our backend pool, for this select the Availability Set that you wish to be load balanced.
The last thing we need to set up is a Load Balancing Rule for port 80, which we set up like this:
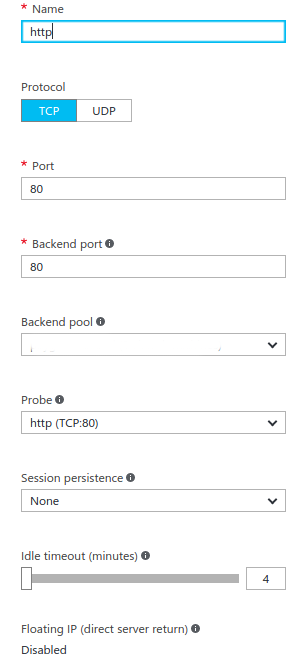
So this rule says if you hit the load balancer on port 80, we want the traffic to be routed to port 80 on the backend. Now you have a functioning load balancer in Azure!

